1. Acid Stripping (if needed)
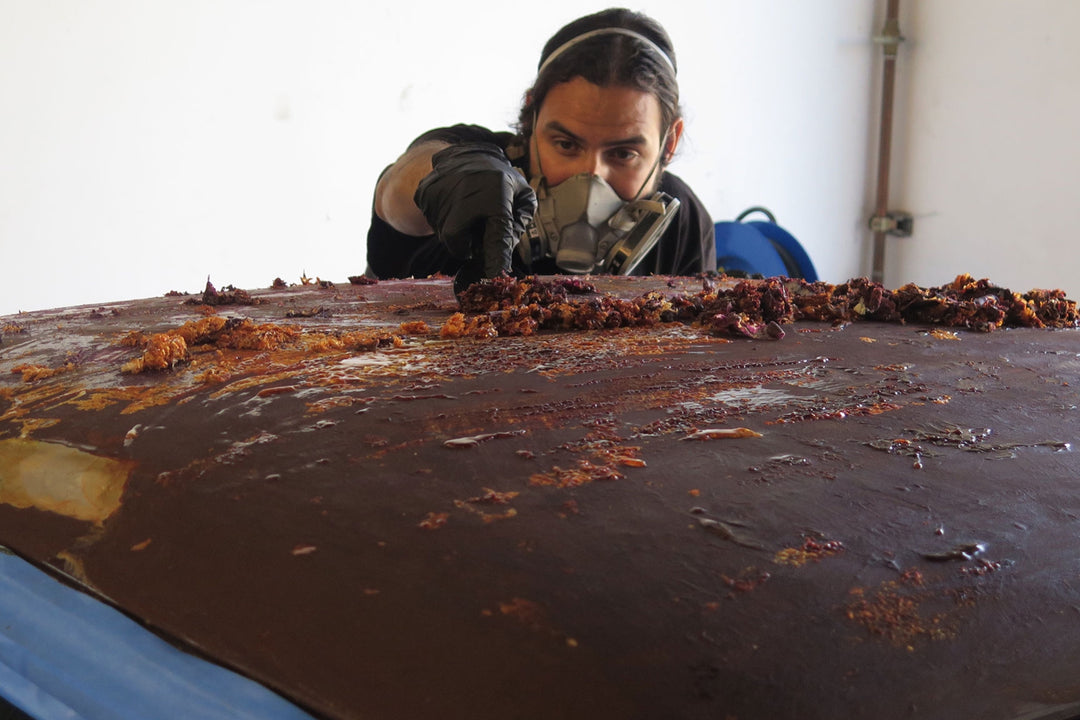
Before starting the powder coating process, if the metal part has an old coating (paint, rust, etc.), acid stripping is used to remove it and prepare the surface for further treatment.
Process:
- The metal object is submerged in an acidic solution, which dissolves the existing coating, rust, or contaminants.
- The acid solution breaks down the bonds of the old coating, leaving the metal exposed.
- This process is carefully controlled to avoid damaging the base metal.
- Once the old coating is removed, the metal is rinsed thoroughly with water to neutralize the acid and remove any residue.
Purpose: Acid stripping is ideal for heavily coated or rusted items, ensuring that the metal is in the best possible condition before moving to the next steps.
2. Sandblasting
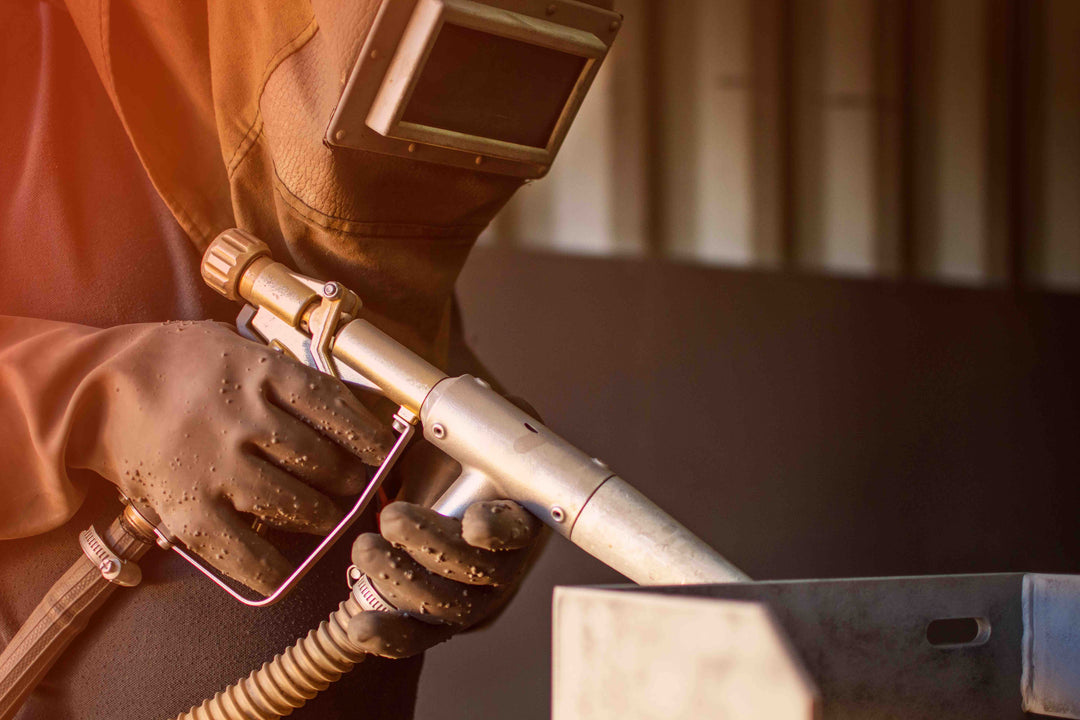
Sandblasting (also known as abrasive blasting) is essential for cleaning and prepping the metal surface by creating a textured finish that allows the powder coating to adhere properly.
Process:
- The metal part is placed in a sandblaster, where high-pressure air is used to propel abrasive media at the surface of the metal.
- The abrasive material impacts the metal at high speed, removing rust, dirt, old paint, oil, and any remaining contaminants from the surface.
- The result is a rough, uniform texture on the metal known as an anchor pattern, which helps the powder coating bond effectively to the surface.
Purpose: Sandblasting ensures that the metal is free from any contaminants and provides a rough texture that improves adhesion for the powder coating.
3. Cleaning and Pre-Treatment
After sandblasting, any remaining dust, debris, or oils must be cleaned off to ensure that no contaminants will interfere with the coating process.
Process:
- The metal is rinsed with water or solvents to remove any sand, oil, or grease that may have been left behind.
- For enhanced corrosion protection, a phosphating or chemical conversion coating may be applied. This step provides an additional layer of protection by chemically bonding with the metal, improving the durability of the powder coating.
Purpose: This step ensures a clean, contaminant-free surface for the powder coating to adhere to, while also offering additional protection against rust and corrosion.
4. Powder Application
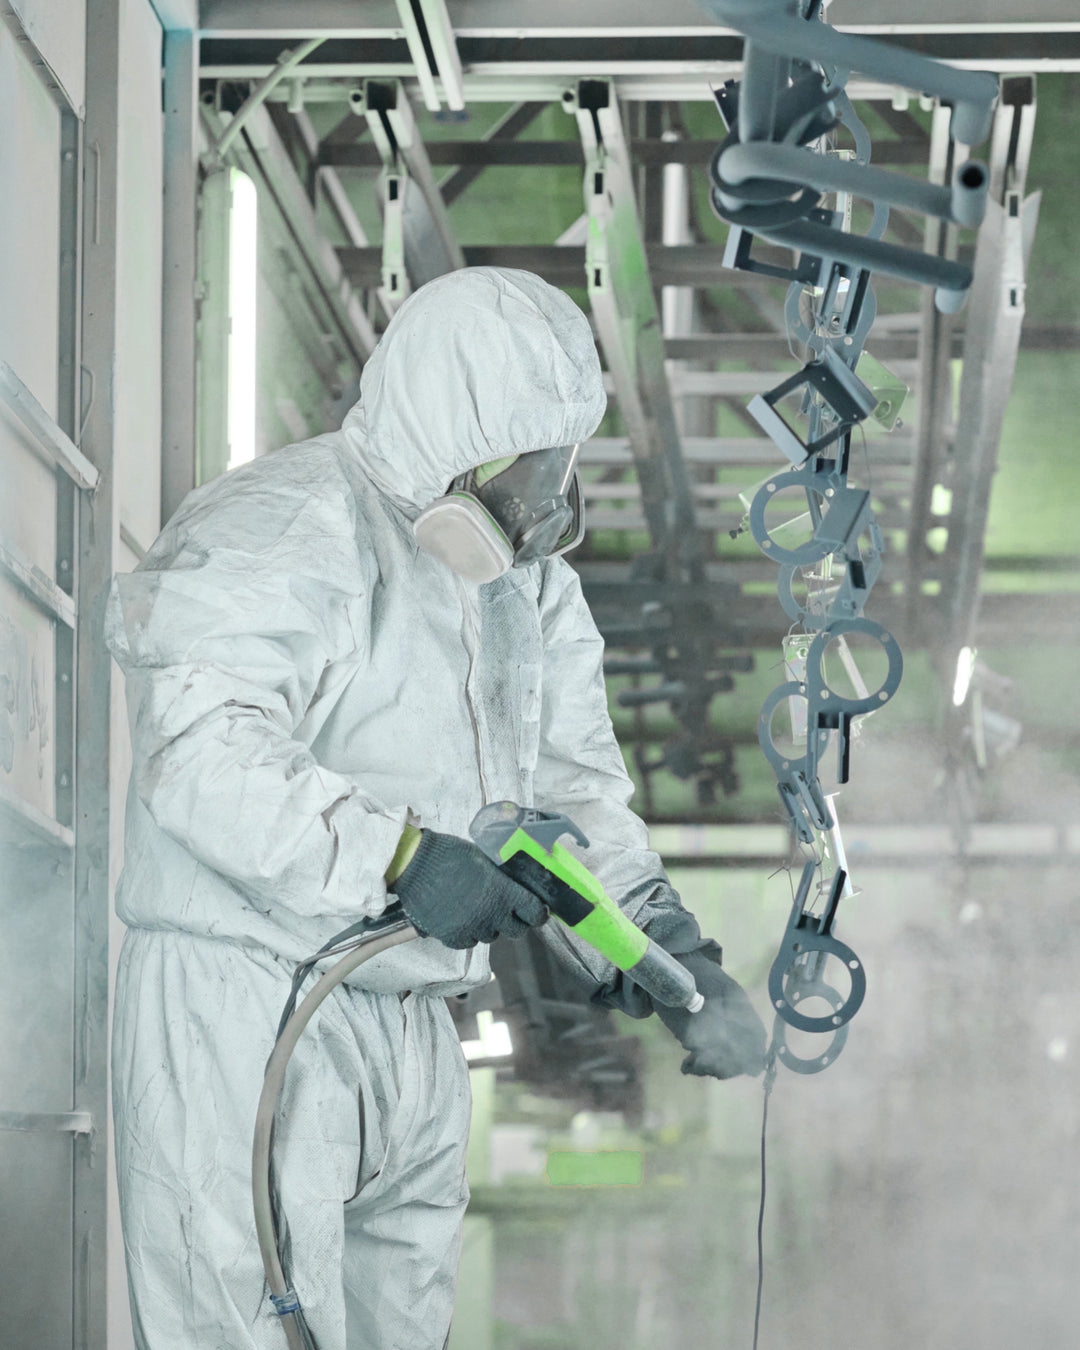
With the metal prepped, the next step is to apply the powder coating. The powder is a fine, dry pigment and resin mixture that is applied electrostatically to the surface.
Process:
- The metal part is grounded to create a negative charge.
- The powder coating gun, which is powered by a high-voltage electrostatic charge, sprays the powder onto the metal. The charged powder particles are attracted to the grounded metal part.
- The operator ensures an even, uniform coat of powder is applied across the entire surface. The powder adheres to the part due to the electrostatic attraction, and any excess powder is reclaimed and reused.
Purpose: The electrostatic charge ensures a consistent and smooth layer of powder, ensuring even coverage on every part of the metal.
5. Curing in the Oven
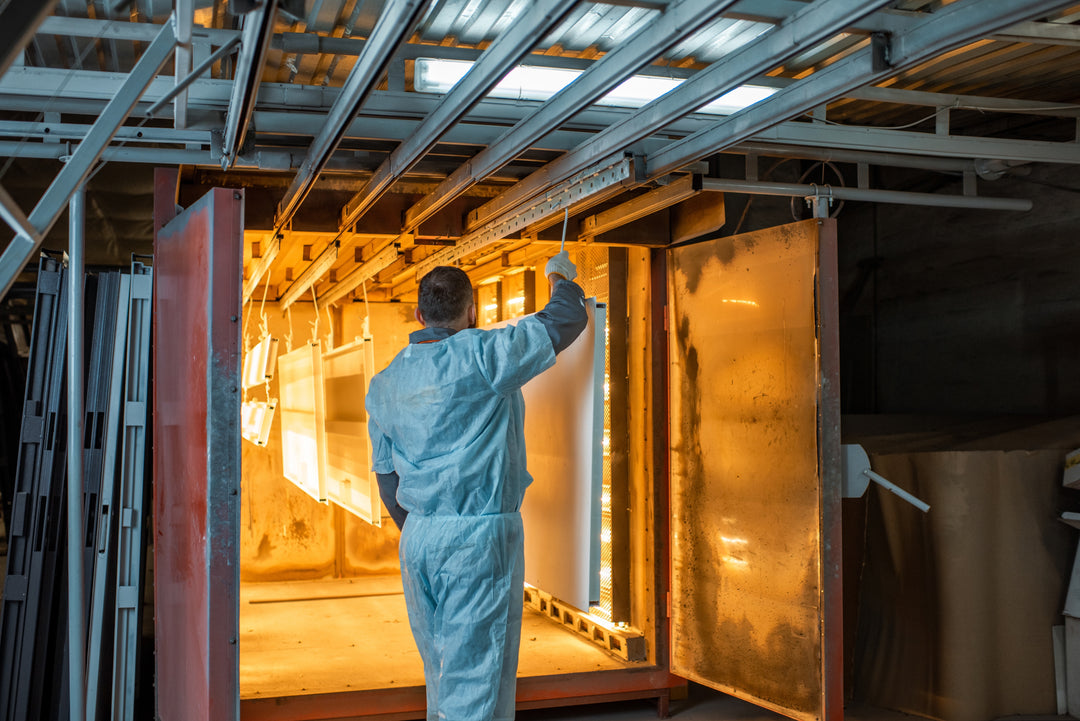
After the powder has been applied, it needs to be "cured" in an oven to form a durable, solid coating. The curing process involves melting the powder and allowing it to fuse into a smooth, hard finish.
Process:
- The coated part is placed in a high-temperature curing oven, where temperatures typically range from 350°F to 450°F (175°C to 232°C).
- The part is heated for 10-20 minutes, depending on the size and type of powder used. During this time, the powder melts, flows, and chemically reacts to form a hard, cohesive, and smooth finish.
- Once the curing process is complete, the part is removed from the oven and allowed to cool, solidifying the powder coating.
Purpose: The curing process is essential to bond the powder to the metal surface and achieve the coating's desired hardness, durability, and finish.
6. Application of Clear Vision
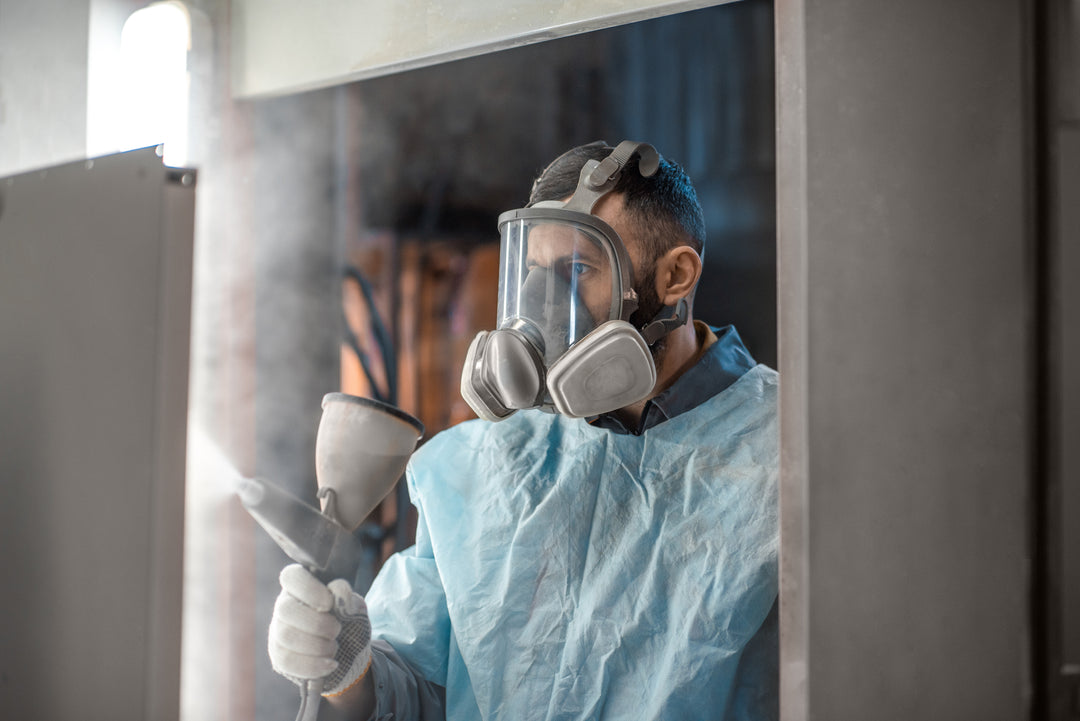
To further enhance the durability, appearance, and protection of the powder coating, a clear coat (often referred to as "Clear Vision") can be applied as a top layer. This layer provides additional UV protection, scratch resistance, and a glossy or matte finish depending on the desired outcome.
Process:
- The part is sprayed with a clear powder coating, which is applied using the same electrostatic method as the base coat.
- The part is then placed back into the oven for another curing cycle, allowing the clear coat to fuse and bond with the base powder layer.
Purpose: The clear coat adds a protective layer that enhances the finish, making it more resistant to weathering, UV rays, scratches, and other environmental factors. It also improves the overall appearance by enhancing the depth and gloss of the base color.
7. Final Inspection
Once the powder coating and clear coat are cured, the part is thoroughly inspected to ensure the quality of the finish.
Process:
- The part is visually inspected for any defects such as runs, bubbles, or uneven coverage.
- Touch-ups are performed if necessary, using a small amount of powder and curing again.
- For complex or detailed parts, a physical inspection is done to check for proper coverage in hard-to-reach areas.
- The part is then cooled to room temperature before being carefully packaged and prepared for shipment.
Purpose: This final step ensures the product meets the desired quality standards, with no defects and a flawless finish.
